Laying a Watercolour Wash - An Easy DIY Guide for Beginners
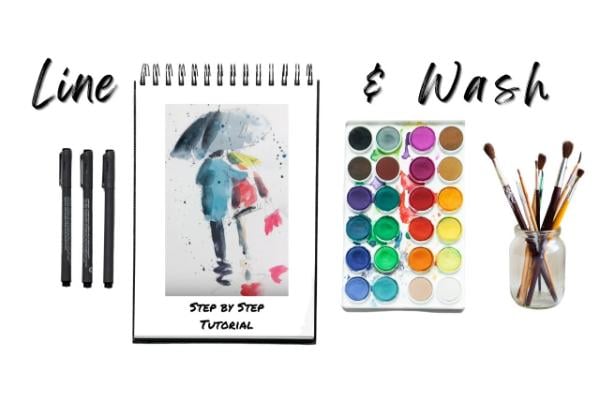
Put together the material
{btn_2}
The material used for Watercolours
Flat Brush:
Generally used for large washes. These are available in widths ranging from Quarter-inch to Two inches, or even more.
(Tip: A good brush retains the point of the tip. To test, dip a new brush in water and shake of excess water and see if it retains its point.
Paper:
To achieve the best results in watercolors, good quality paper is very important. The white paper is the most suitable for transparent watercolors.
Palette:
The palette is to used to place paints used for a painting and to mix them as required.
Let's get started...
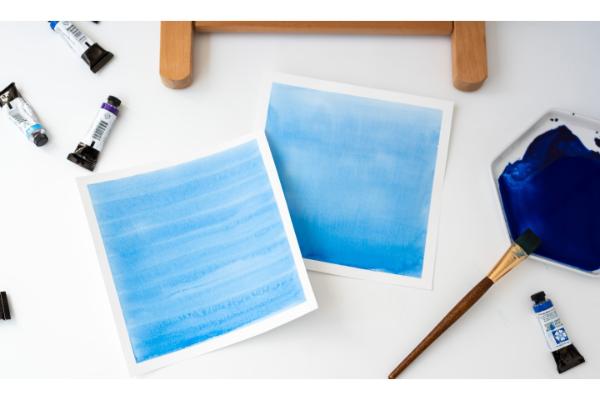
01. Flat/Plain Wash
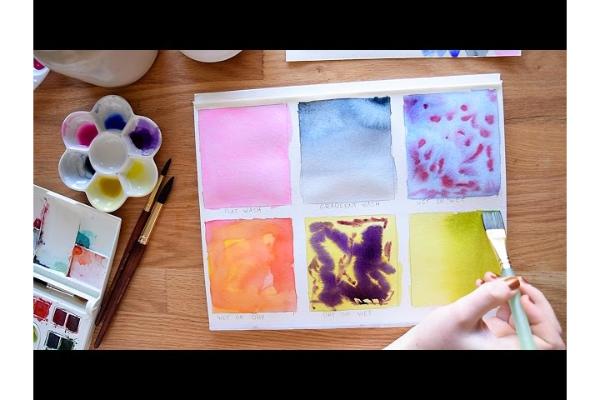
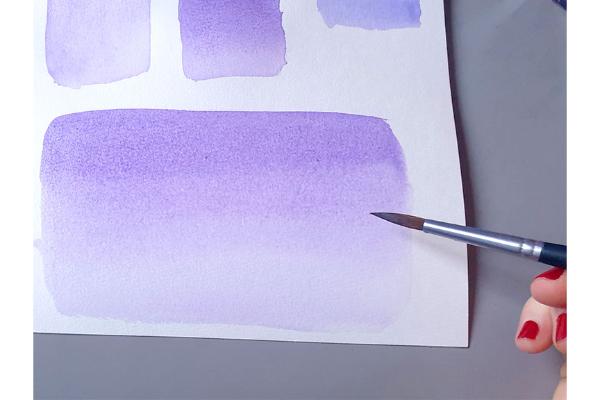
02. Graded Wash
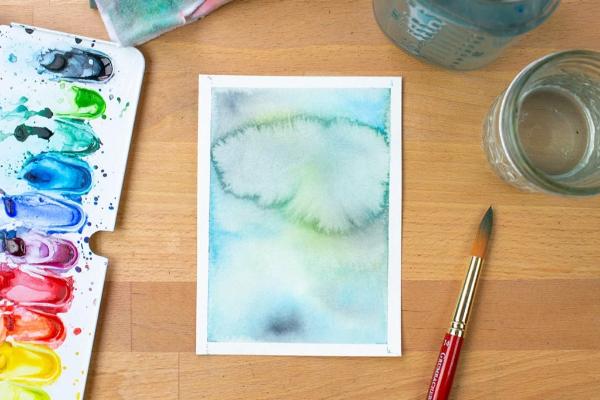
03. Wet in Wet
04. Dry Brush
Conclusion
Watercolour is a very fun medium to work with. Many find it intimidating at first, but once you get hold of the basics, you are on your way to creating magic. The practice is key for watercolors; the more you do, the more confidence you gain with the medium. You will waste a lot of paper once you start exploring, you will do a lot of messy, weird stuff; but don't lose heart. Keep painting more, explore different materials and painting styles, and take inspiration from your favorite artists. Nobody became a genius in watercolors overnight, did they? Everyone started somewhere. So get your painting stuff out and get watercoloring.
About Author

ravikanth
Ravikanth Buddiga is a designer, illustrator and a shutterbug. His primary interest lays in Graphic and UI design with extended passion towards music and theatre.